Classic Artisan Sourdough Bread
Vegan • Vegetarian • Dairy-FreeBaking • Meal Prep Friendly • 5 Ingredients or LessComfort Food
Medium
24h
145kcal
12people
MACROS
per serving※gProtein
◆gFat
▣gCarbs
◎gSugar
◇gFiber
Want to see the exact Macros for this meal? Download the Kitchen Buddy app and unlock full nutritional insights!
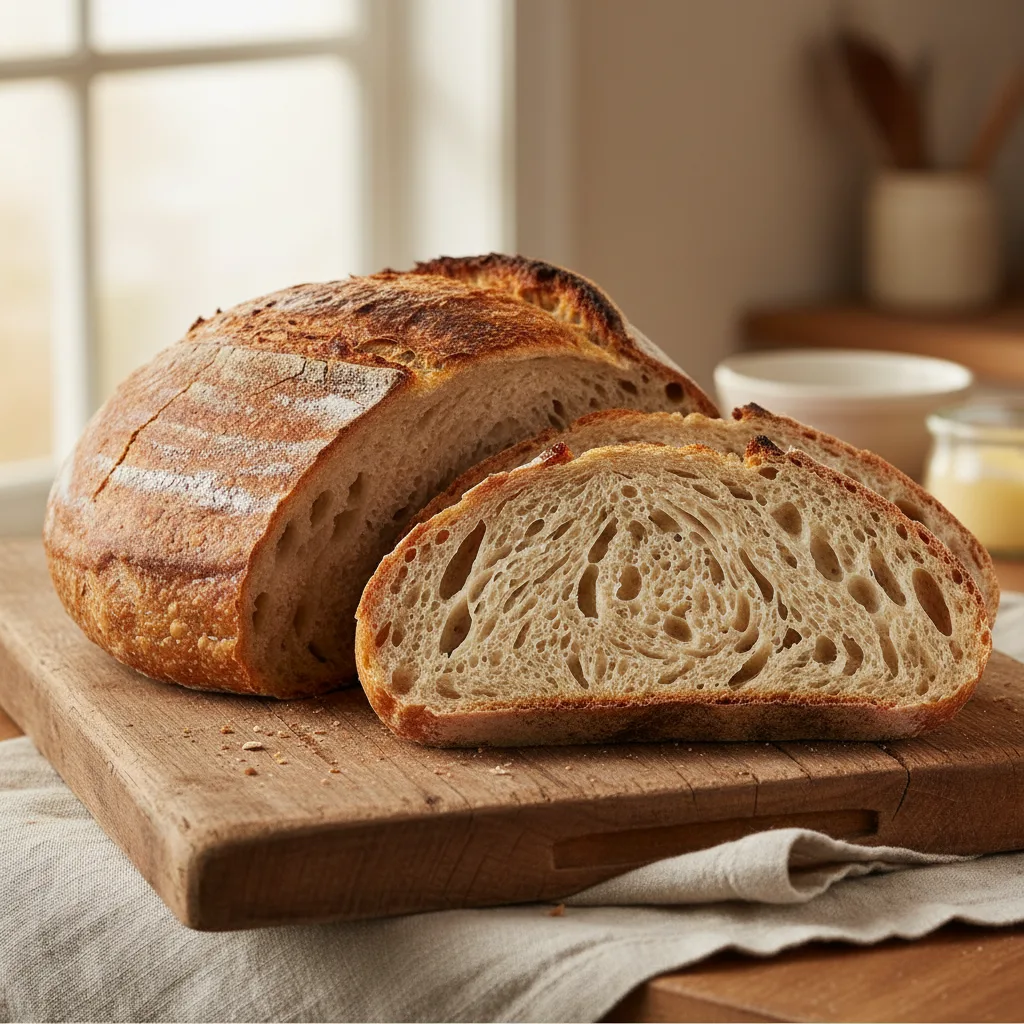
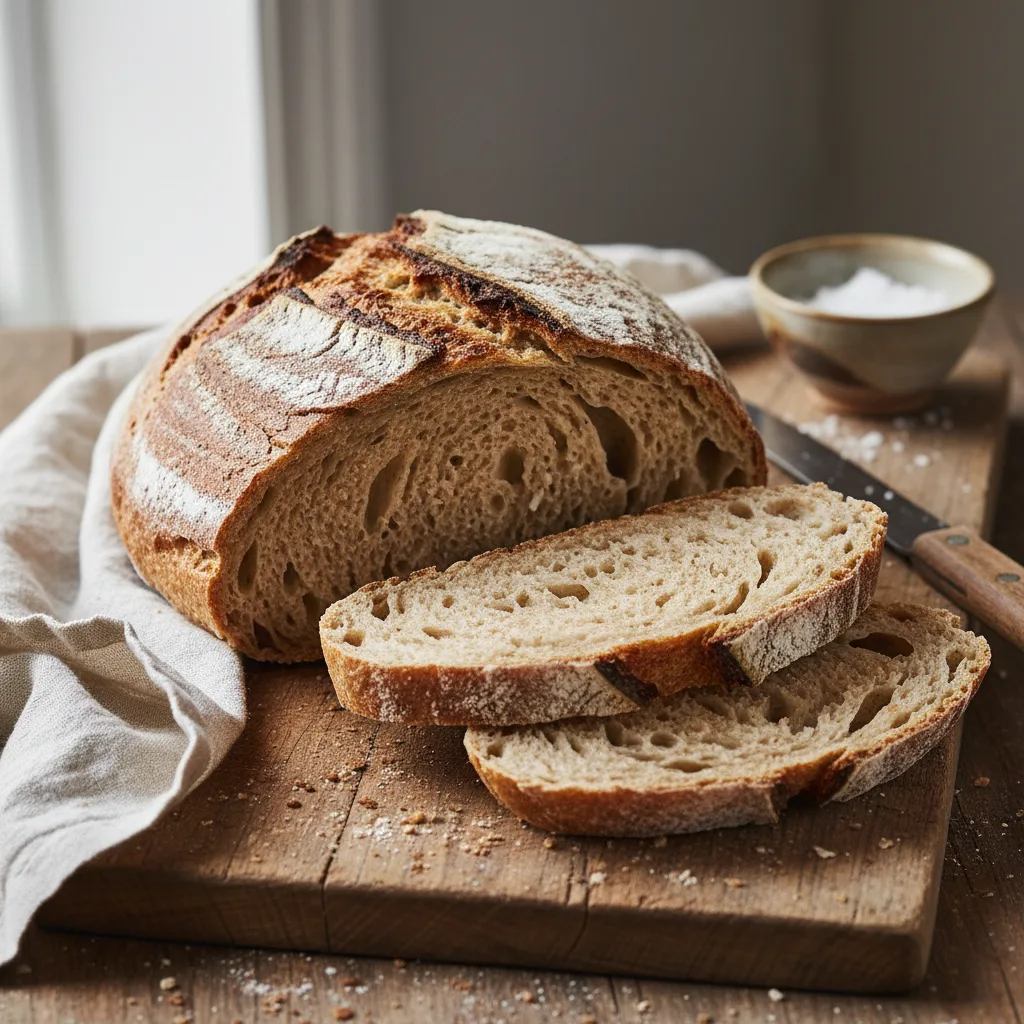
A highly successful, step-by-step artisan sourdough bread recipe that yields a blistered, crispy crust and a tender, chewy crumb.
There is nothing quite as rewarding as pulling a Classic Artisan Sourdough Bread out of the oven. The crackle of the crust, the deep, complex aroma of fermented grains, and the beautifully airy, chewy crumb are the ultimate payoff for patience. This recipe uses a blend of your everyday white flour with a touch of whole wheat to add wonderful depth of flavor and extra nutrients to your loaf. Working with a sourdough starter can seem intimidating, but this method is designed to be highly successful and incredibly forgiving for home bakers. By utilizing a long, slow overnight fermentation in the fridge, we not only develop an incredible tang and robust flavor, but we also make the dough much easier to handle and score the next day. The magic of wild yeast transforms simple flour, water, and salt into an absolute masterpiece. Whether you are aiming for the perfect slice of avocado toast or just want to slather it in butter, this Classic Artisan Sourdough Bread will be your new proudest kitchen achievement.
Ingredients
- 100 g Active Sourdough Starter
- 350 g Warm Water
- 400 g Flour
- 100 g Whole Wheat Flour
- 10 g Sea Salt
Instructions
- 1Step 1: Ensure your active sourdough starter is bubbly, doubled in size, and passes the float test before you begin.
- 2Step 2: In a large bowl, whisk together the active sourdough starter and 325g of the warm water until the starter is mostly dissolved.
- 3Step 3: Add the flour and whole wheat flour to the bowl. Mix by hand or with a sturdy spoon until a shaggy, rough dough forms and no dry spots remain. Cover and let it rest (autolyse) for 45 to 60 minutes.
- 4Step 4: After resting, sprinkle the sea salt over the dough. Add the remaining 25g of warm water to help dissolve it. Dimple the dough with your fingers and pinch it together until the salt is fully incorporated.
- 5Step 5: Over the next 2 hours, perform 4 sets of 'stretch and folds' spaced 30 minutes apart. Pull one side of the dough up and fold it over itself, rotating the bowl until all four sides have been folded. Cover the bowl between sets.
- 6Step 6: Let the dough sit at room temperature for the remaining bulk fermentation. It should grow by about 50%, look jiggly, and have a few bubbles on the surface. This usually takes 3 to 5 hours depending on your kitchen's temperature.
- 7Step 7: Turn the dough out onto a lightly floured surface. Shape it into a tight, round boule by gently folding the edges into the center and flipping it over so the smooth side is up. Drag it slightly towards you to build tension on the surface.
- 8Step 8: Place the shaped dough upside down (seam side up) into a generously floured proofing basket or a bowl lined with a floured towel. Cover it and place it in the fridge overnight (8-16 hours) for its cold proof.
- 9Step 9: The next day, place your empty Dutch oven inside the oven and preheat to 250°C (485°F) for at least 45 minutes.
- 10Step 10: Turn the dough out onto a piece of parchment paper. Use a sharp blade or razor to score a design or a single deep slash across the top.
- 11Step 11: Carefully transfer the parchment and dough into the hot Dutch oven. Cover with the lid and bake for 20 minutes to trap the steam and encourage oven spring.
- 12Step 12: Remove the lid, reduce the oven temperature to 220°C (430°F), and bake for another 20 to 25 minutes until the crust is deep golden brown and crisp.
- 13Step 13: Remove the bread from the oven and let it cool completely on a wire rack for at least 2 hours before slicing. Slicing too early will result in a gummy texture!
Chef's Tips
- •Always weigh your ingredients using a digital scale for bread baking; volume measurements (like cups) can be highly inaccurate for flour and water.
- •If your kitchen is cold, bulk fermentation will take longer. Watch the dough, not the clock. It should be domed, bubbly, and jiggle when you shake the bowl.
- •Scoring the dough isn't just for looks—it dictates where the bread will expand in the oven so it doesn't burst randomly on the sides.
More recipes you might like
Medium24h162kcal
100% Whole Wheat Sourdough Bread

Medium45min195kcal
Crispy Seeded Spinach & Zaatar Whole Wheat Crackers

Easy5min65kcal
Rich Red Pesto Pizza Sauce

Easy3min145kcal
Quick Lemon Tahini Drizzle

Easy10min258kcal
Fresh Basil & Walnut Pesto
Easy10min258kcal
Fresh Basil & Walnut Pesto

Easy55min410kcal
Classic Bread Pudding with Raisins

Medium35min410kcal
Classic Soft Cinnamon Rolls

Easy10min35kcal
Fresh Homemade Tomato Juice
K
Recipe By
Kitchen Buddy Chef