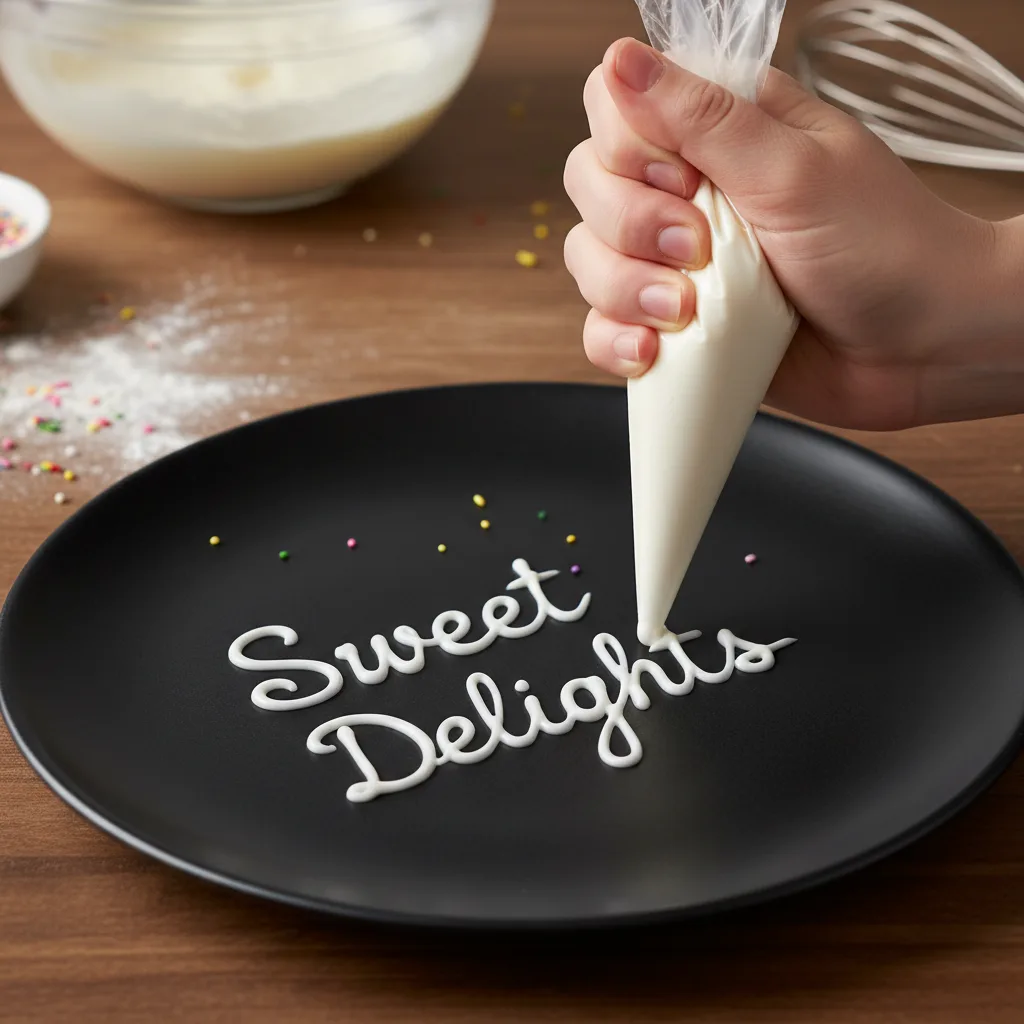
Perfect Cake Lettering Icing
Vegetarian • Gluten-FreeUnder 15 Mins • No-CookDessertKid-Friendly
Easy
5min
480kcal
1person
MACROS
per serving※gProtein
◆gFat
▣gCarbs
◎gSugar
◇gFiber
Want to see the exact Macros for this meal? Download the Kitchen Buddy app and unlock full nutritional insights!
A foolproof, thick icing and DIY piping bag technique for writing neat, beautiful messages on any dessert.
Want to know how to make cake lettering like a pro? You don't need fancy pastry tools! Using your icing sugar and canned cream, you can whip up a thick, smooth piping icing that holds its shape perfectly without bleeding into the cake. The secret to perfect cake lettering is the consistency of your icing—it must be thick like toothpaste. We will also use your plastic gallon bags as a genius DIY piping bag. Just snip the tiniest corner off, practice a few letters on a plate first, and you will be writing beautiful, sweet messages in no time!
Ingredients
- 120 g Icing Sugar
- 1 tbsp Canned Cream
- 2 g Vanilla Powder
- 10 g Unsweetened Cocoa Powder (Optional, for brown text)
Instructions
- 1Sift the icing sugar and vanilla powder into a small bowl to remove any lumps. (Lumps will clog your piping bag and ruin your lettering!)
- 2If you want dark brown lettering, mix in the unsweetened cocoa powder now.
- 3Add the canned cream (or water) just half a teaspoon at a time. Stir vigorously. You want a thick, smooth paste that is the consistency of toothpaste—thick enough to hold a peak, but soft enough to squeeze.
- 4Scoop the icing into one bottom corner of your plastic gallon bag. Twist the empty top part of the bag tightly so the icing is packed firmly into the corner and won't spill out the top.
- 5Using sharp scissors, snip the absolute *tiniest* tip off the corner of the bag. You can always cut it larger if the line is too thin, but you cannot make it smaller once cut!
- 6Practice piping your message on a plate first. Hold the bag near the top twist, apply gentle, steady pressure, and use your other hand to guide the tip slowly as you write.
Chef's Tips
- •For cursive lettering, try to keep a continuous, steady pressure. For print letters, release the pressure slightly before lifting the bag away to prevent 'tails'.
- •If your icing is too runny, add a little more icing sugar. If it is too stiff to squeeze out, add one single drop of liquid at a time until perfect.
- •Before writing on the cake, lightly trace your message onto the frosting surface using a toothpick to use as a guide!
More recipes you might like

Easy10min280kcal
Perfect Chocolate Cake Lettering (For Cheesecake)

Easy10min35kcal
Fresh Homemade Tomato Juice
Easy5min280kcal
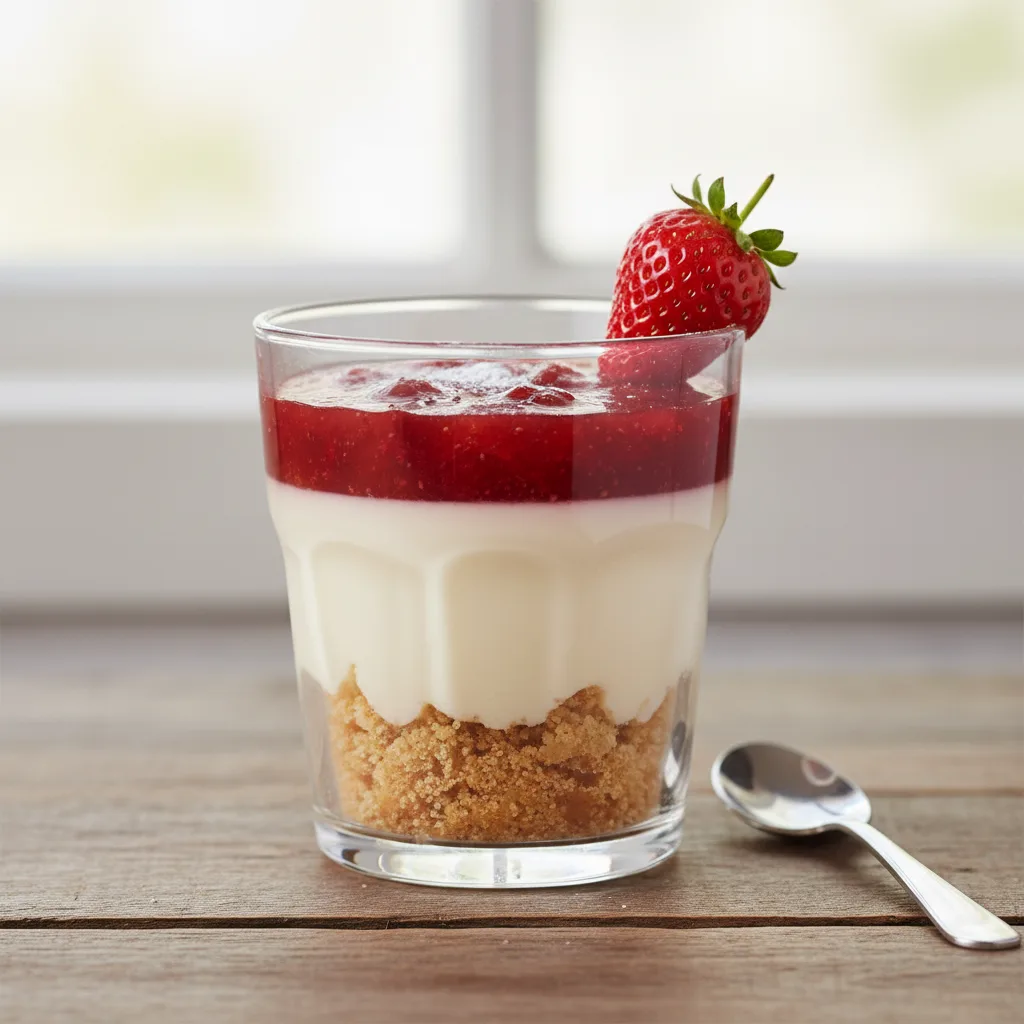
Single-Serve Strawberry Cheesecake Cup (No Cream)
Easy10min360kcal
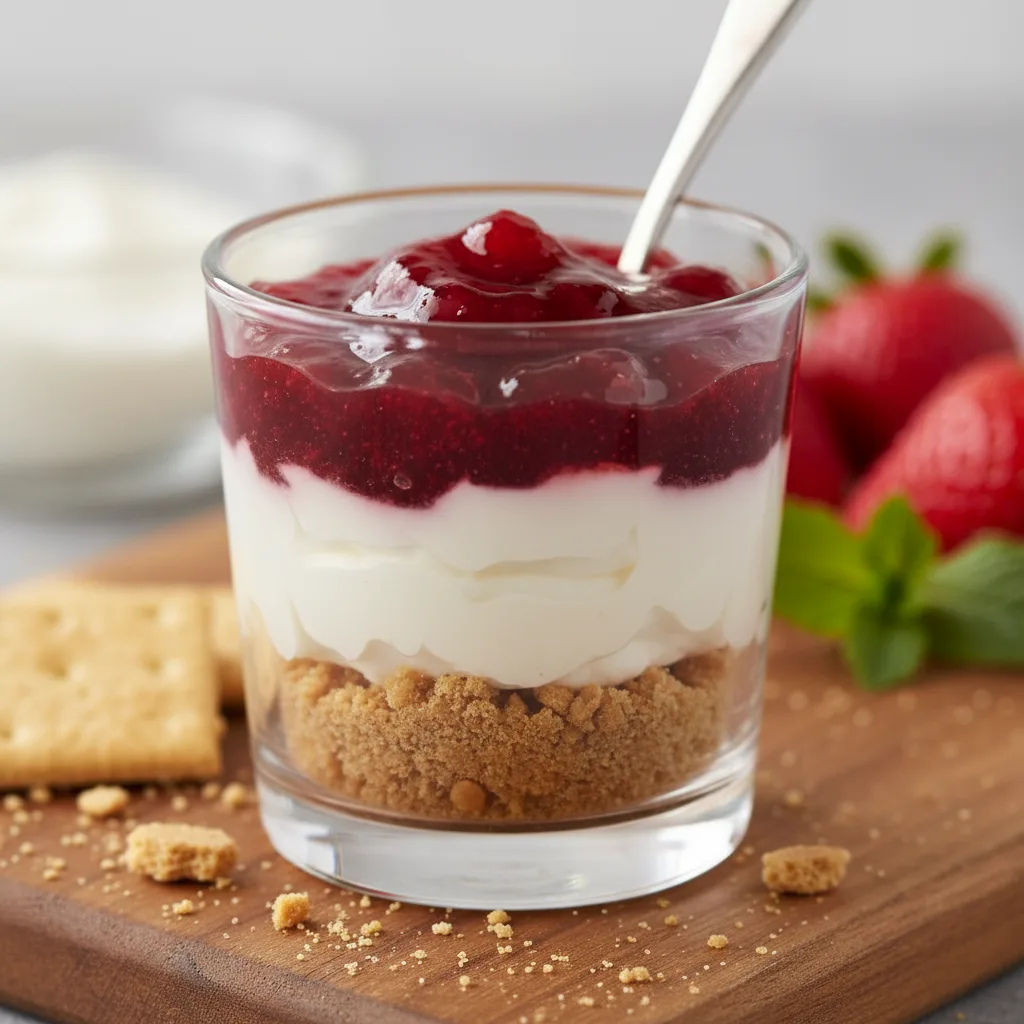
Single-Serve No-Bake Strawberry Cheesecake Cup
Easy3min145kcal
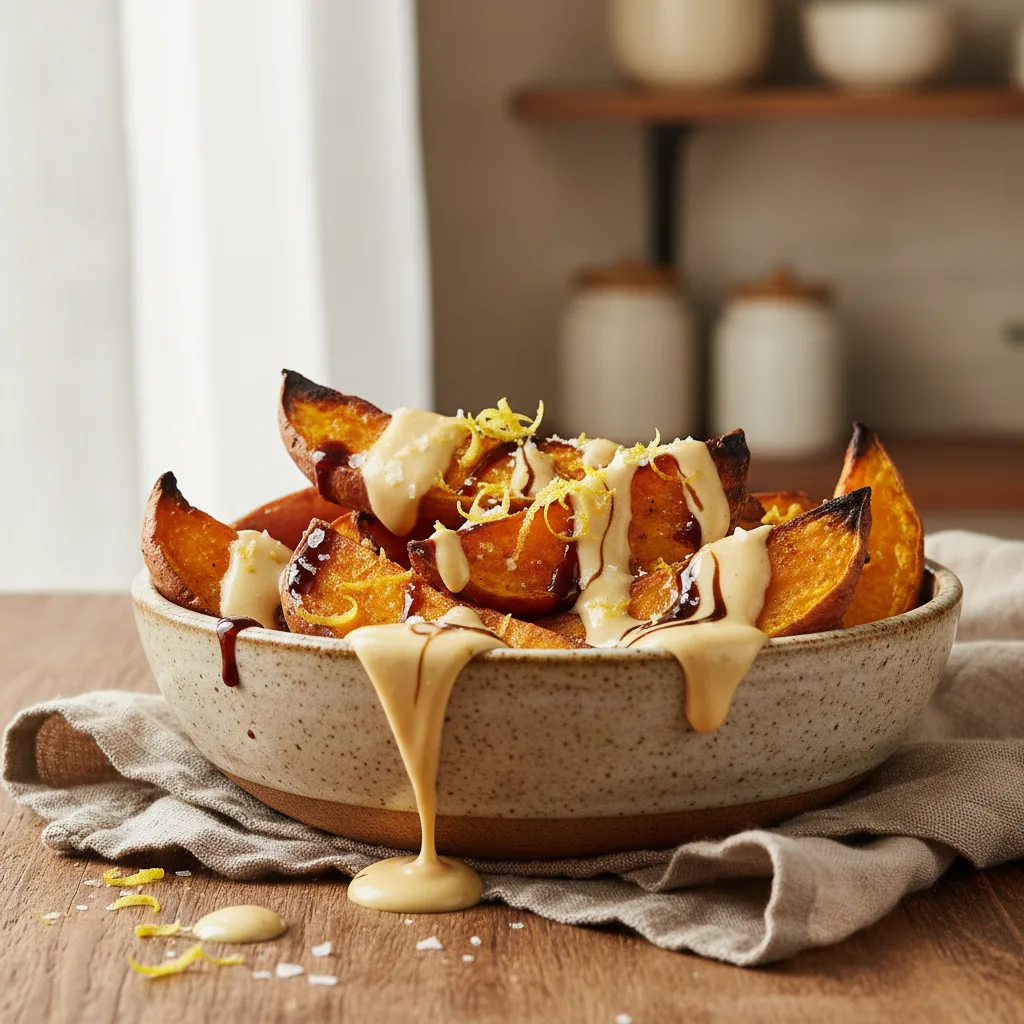
Quick Lemon Tahini Drizzle
Easy3min145kcal
Quick Lemon Tahini Drizzle

Medium30min650kcal
Perfect Portion Crispy Apple Hand Pies

Easy15min320kcal
High-Protein Spicy Tuna & Egg Lettuce Wraps
Easy20min480kcal
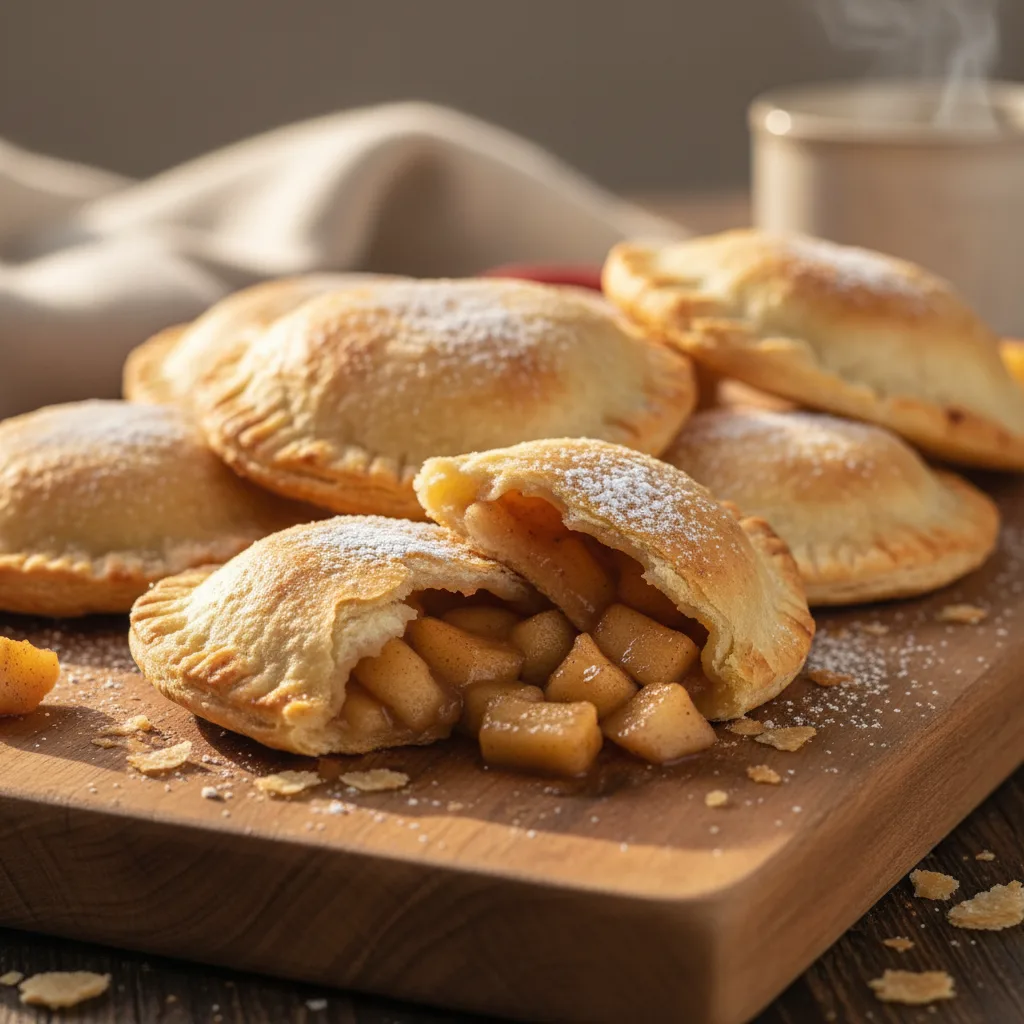
McDonald's-Style Crispy Apple Hand Pies
K
Recipe By
Kitchen Buddy Chef