
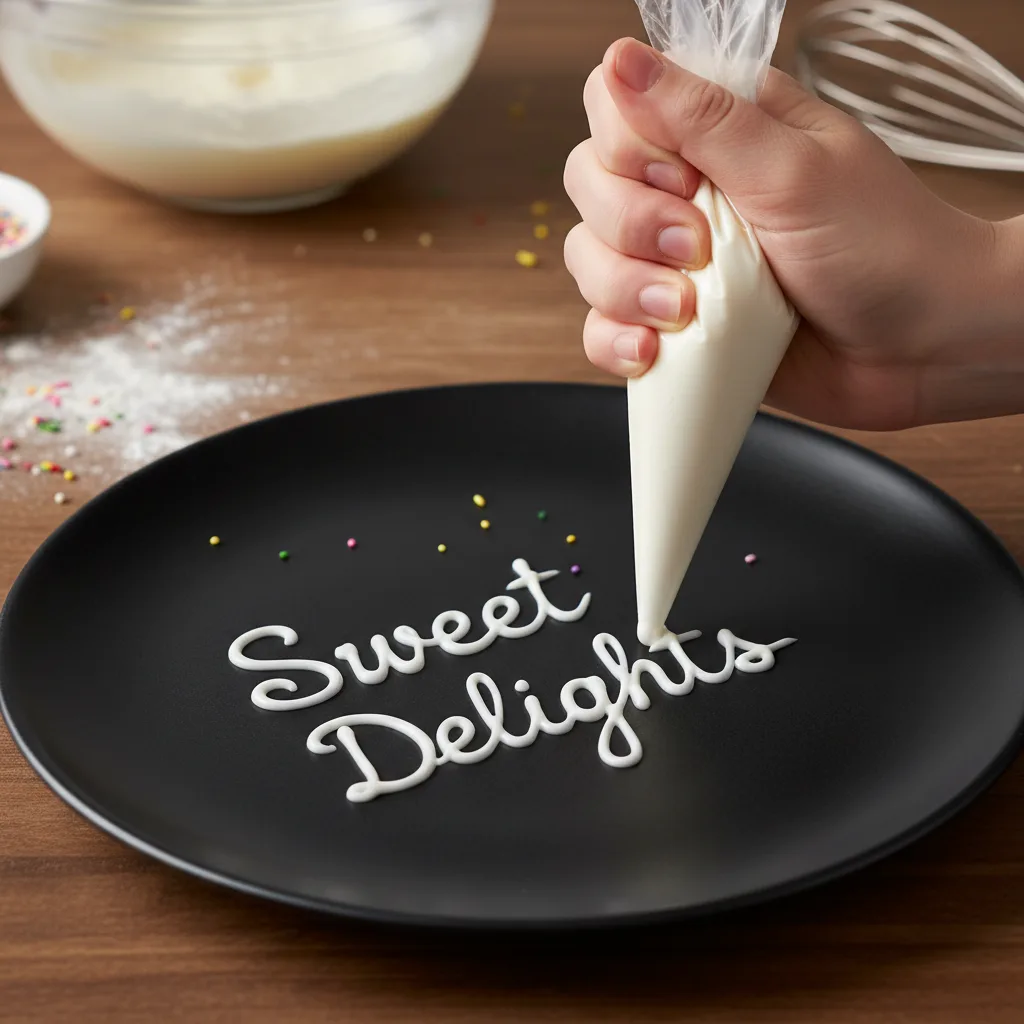
Perfect Chocolate Cake Lettering (For Cheesecake)
Vegetarian • Gluten-FreeUnder 15 Mins • No-CookDessert
Easy
10min
280kcal
1person
MACROS
per serving※gProtein
◆gFat
▣gCarbs
◎gSugar
◇gFiber
Want to see the exact Macros for this meal? Download the Kitchen Buddy app and unlock full nutritional insights!
A thick, stable chocolate piping frosting designed specifically to hold its shape and prevent bleeding when writing on moist surfaces like cheesecake.
Mastering the art of cake lettering can seem daunting, but writing a beautiful birthday message on a delicate dessert is entirely possible with the right recipe! When it comes to decorating, doing cake lettering on top of a moist cheesecake presents a unique challenge. Because cheesecakes have a high moisture content, standard thin icings or water-based gels tend to melt, weep, or bleed out into the cake after just a few hours in the fridge, ruining your beautiful birthday writing. To solve this, you need a fat-heavy, stable piping frosting. This perfect chocolate cake lettering recipe uses a simple blend of softened butter, icing sugar, and unsweetened cocoa powder. The high fat content from the butter creates a protective waterproof barrier between your piped letters and the moist surface of the cheesecake, ensuring your birthday writing stays incredibly sharp, dark, and perfectly legible. You don't even need professional pastry tools for this cake lettering technique! By mixing up this thick, toothpaste-like chocolate frosting and loading it into one of your plastic gallon bags with a tiny corner snipped off, you can pipe elegant, flowing script directly onto your chilled cheesecake. Be sure to trace your message lightly with a toothpick on the cold surface before you begin piping—this acts as a foolproof guide so you never run out of room. Whether you are spelling out 'Happy Birthday' or a custom message, this reliable chocolate piping frosting will make your homemade cheesecake look beautifully professional.
Ingredients
- 2 tbsp Butter
- 30 g Icing Sugar (about 4 tbsp)
- 7 g Unsweetened Cocoa Powder (about 1 tbsp)
- 0.5 tsp Canned Cream
Instructions
- 1Ensure the butter is extremely soft, at room temperature, before you begin.
- 2In a small bowl, vigorously mash the softened butter, icing sugar, and unsweetened cocoa powder together until it forms a smooth, thick paste.
- 3If the mixture is too dry or crumbly to pipe, add the canned cream just a tiny drop at a time, mixing thoroughly, until it reaches the consistency of thick toothpaste.
- 4Scoop the chocolate frosting into one corner of your plastic gallon bag. Twist the top tightly to push all the frosting down into the corner.
- 5Using scissors, snip the absolute tiniest tip off the corner of the bag. It is always better to cut it too small at first, as you can always make it bigger.
- 6Take your cold, chilled cheesecake from the fridge. Lightly trace your desired birthday message into the surface of the cheesecake using a toothpick.
- 7Hold the bag steadily and squeeze gently from the top to trace over your toothpick lines with the chocolate frosting. Once finished, return the cheesecake to the fridge so the letters firm up.
Chef's Tips
- •If your hands are very warm, the butter in the frosting might melt while you hold the bag. If it gets too runny, put the bag in the fridge for 2-3 minutes to firm up again.
- •Practice piping your message on a plate or piece of parchment paper once or twice before moving to the actual cheesecake.
- •Always trace your letters with a toothpick first! It guarantees your spacing is correct and prevents spelling mistakes on the final cake.
More recipes you might like
Easy5min480kcal
Perfect Cake Lettering Icing
Easy10min360kcal
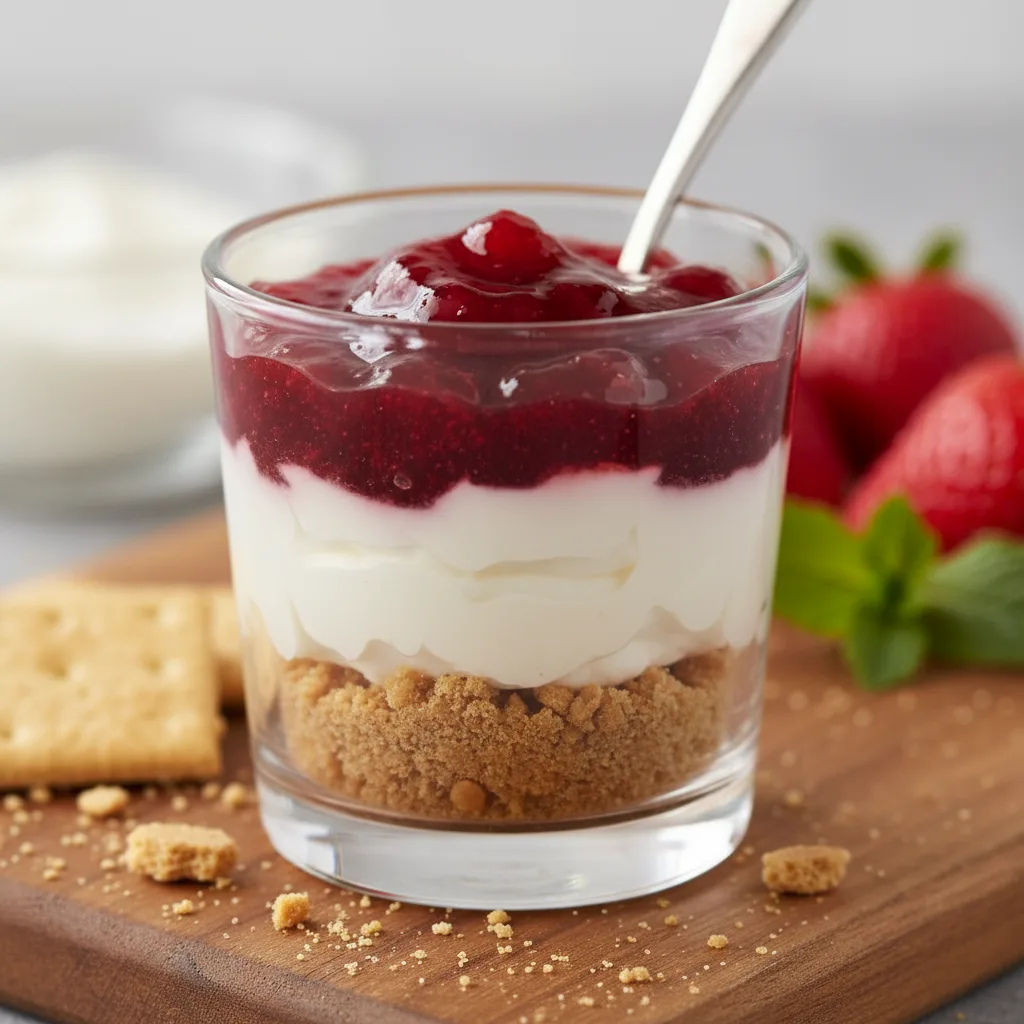
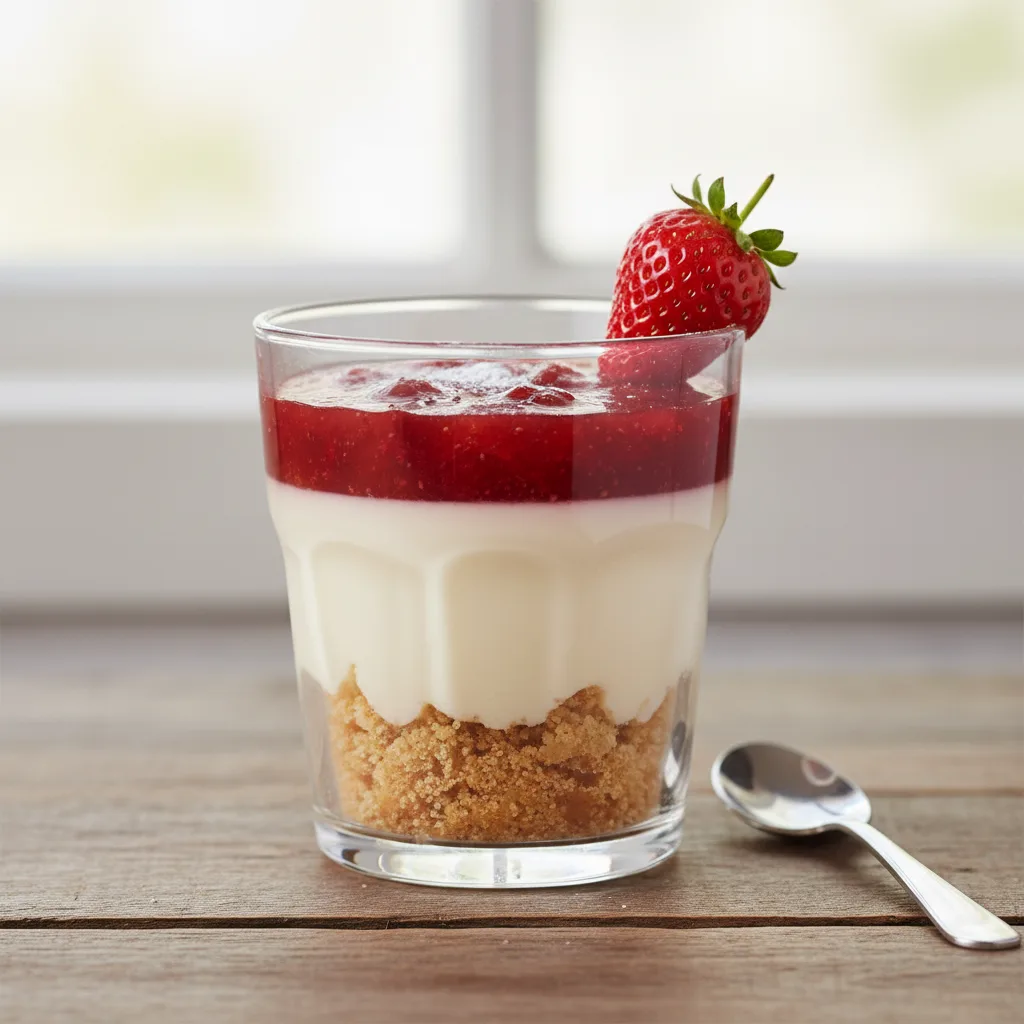
Single-Serve No-Bake Strawberry Cheesecake Cup
Easy5min280kcal
Single-Serve Strawberry Cheesecake Cup (No Cream)
Easy3min145kcal
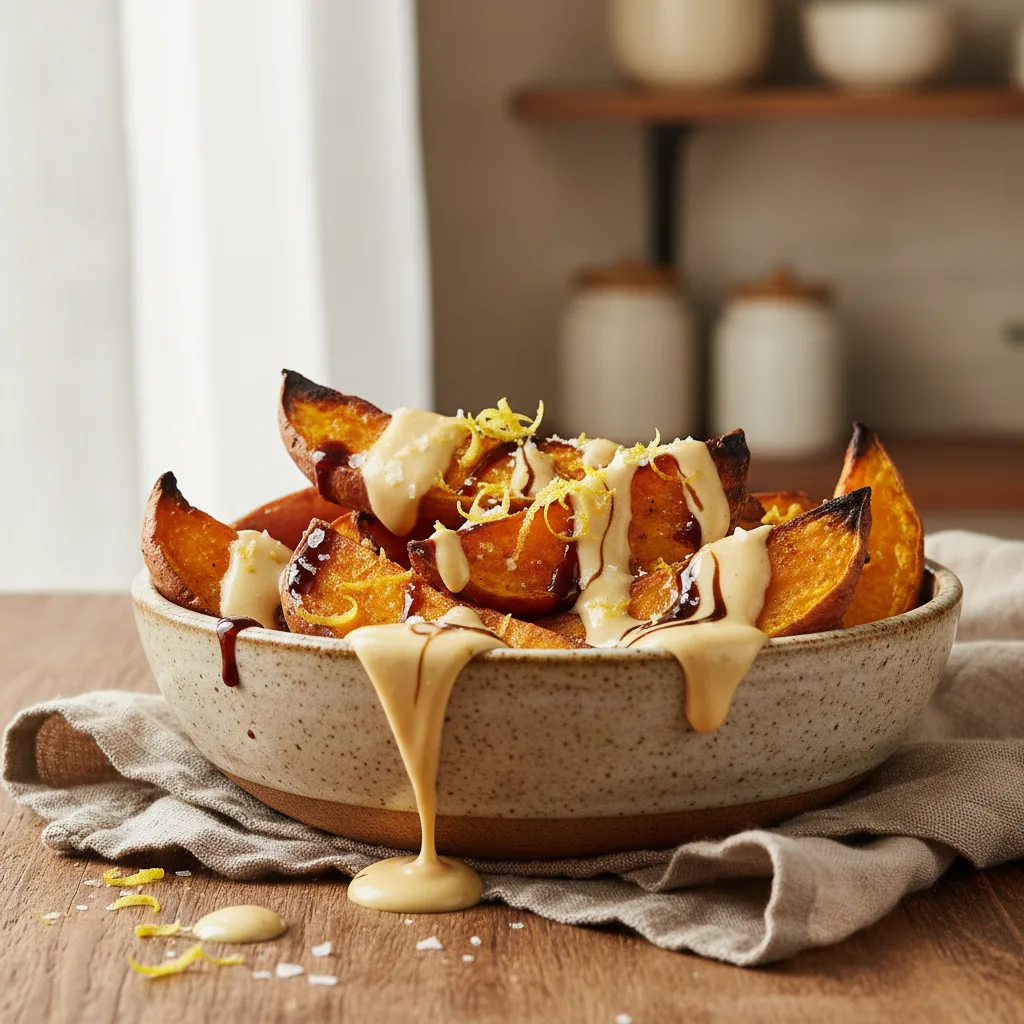
Quick Lemon Tahini Drizzle

Easy10min35kcal
Fresh Homemade Tomato Juice
Easy3min145kcal
Quick Lemon Tahini Drizzle

Easy20min500kcal
Classic No-Bake Cheesecake
Easy20min500kcal
Classic No-Bake Cheesecake

Easy20min500kcal
Classic No-Bake Cheesecake
K
Recipe By
Kitchen Buddy Chef